My first candle journal had a single line: “Cotton wick. Burns great.” A month later, I tried to make the same candle in the same kind of jar. I picked a wick that looked identical, but the new candle gave off soot and the flame was far too large. It was a different wick size. A few millimeters are easy to miss by eye, but they made all the difference to the burn. The wax was wasted, and so was my evening.
After that, I stopped counting “soy wax, vanilla, 6%, turned out well” as a useful record. It might remind me of a candle, but it wouldn’t let me make it again. Which wax was it? How many grams of fragrance oil? Which wick did I put in the jar?
So I made a candle journal with two sheets: one for the batch recipe and one for burn observations. You can start with a single candle, a pen and those two pages.
Download the free candle journal — PDF, US Letter, 2 pages
No email or account required. Save the PDF or print it. Fill in the first page as you make the batch, then use a fresh copy of the second page for each burn session.
Give the batch and each candle an ID
Call your first batch A01. If one mixture fills three containers, label the candles A01-1, A01-2 and A01-3. Use those same IDs in your notes and photo names.
Keep the two levels separate: ingredient weights belong to the whole batch; burn observations belong to an individual candle. Testing different wicks? Record the wick beside each candle’s ID. The worksheet has space for that mapping.
Record enough detail to buy the same materials again
I think about that wick every time I fill in this section. “Medium wick” won’t help me order the same one again. I need the name on the package and the supplier. The same goes for the wax, fragrance oil and container. If the product code is long, just take a photo of the label.
Keep these details with the recipe:
- Exact wax, fragrance and additive names, plus lot numbers where available.
- The weight of each ingredient you actually used.
- Fragrance percentage and its base: wax weight or total mixture weight.
- Container model, inside diameter and fill level.
- Wick series, size and number of wicks in each candle.
Write down what the fragrance percentage is based on
“6% fragrance” leaves two possible calculations. With 180 g of wax, 6% of the wax weight is 10.8 g of fragrance oil. If you mean 6% of the finished mixture, you need about 11.5 g. It’s a small difference, but it can lead you to the wrong conclusions when comparing batches. I’ve covered the calculation in how to calculate fragrance oil for a candle. Working out how much mixture will fit your jar is a separate question: see how much wax you need for a candle jar.
These examples use grams. If you work in ounces, use weight ounces, not fluid ounces, and keep the units consistent. The template has options for grams or ounces, and Celsius or Fahrenheit.
Write down what happened, not just what the instructions said
Leave room for the temperatures you actually measured when melting, adding fragrance and pouring, along with mixing time and the pour date. If you didn’t measure something, write “not measured.” Copying the target temperature into that space would hide a gap in the record.
Keep the wax instructions with the entry, too: a saved copy or a link with the date you accessed it. Later, you’ll be able to check whose recommendations you followed.
The template also has a space for curing time. It’s easy to light a candle before it has had time to cure, then draw conclusions about the wax that have more to do with when you tested it. Follow the guidance for your particular material. The template doesn’t prescribe temperatures or cure times; those depend on the materials you use.
Use a separate sheet for each burn session
On page two, enter the candle ID, session number, date, time since pouring, and lighting and extinguishing times. Use the table for timed notes on the flame, wick, soot and melt pool. Match photos to the candle ID.
CandleScience’s burn-testing guide evaluates a candle through its life, not just its first burn. That’s why this journal has no “safe candle” checkbox. Completing a worksheet isn’t proof of safety.
Scent gets its own space, with the evaluation date and conditions. “Smells lovely” tells you how you felt about it, but not much about the candle.
End with a question for the next batch
The final space asks two questions: “What do I want to test?” and “What will I change?” Change one variable at a time and give the new batch a new ID.
If you replace the wax, wick and fragrance oil all at once, you’ll have a different candle, but the two entries won’t tell you which change made the difference. Mark anything you haven’t tested yet as “check in the next batch.”
Prefer keeping your notes on your iPhone?
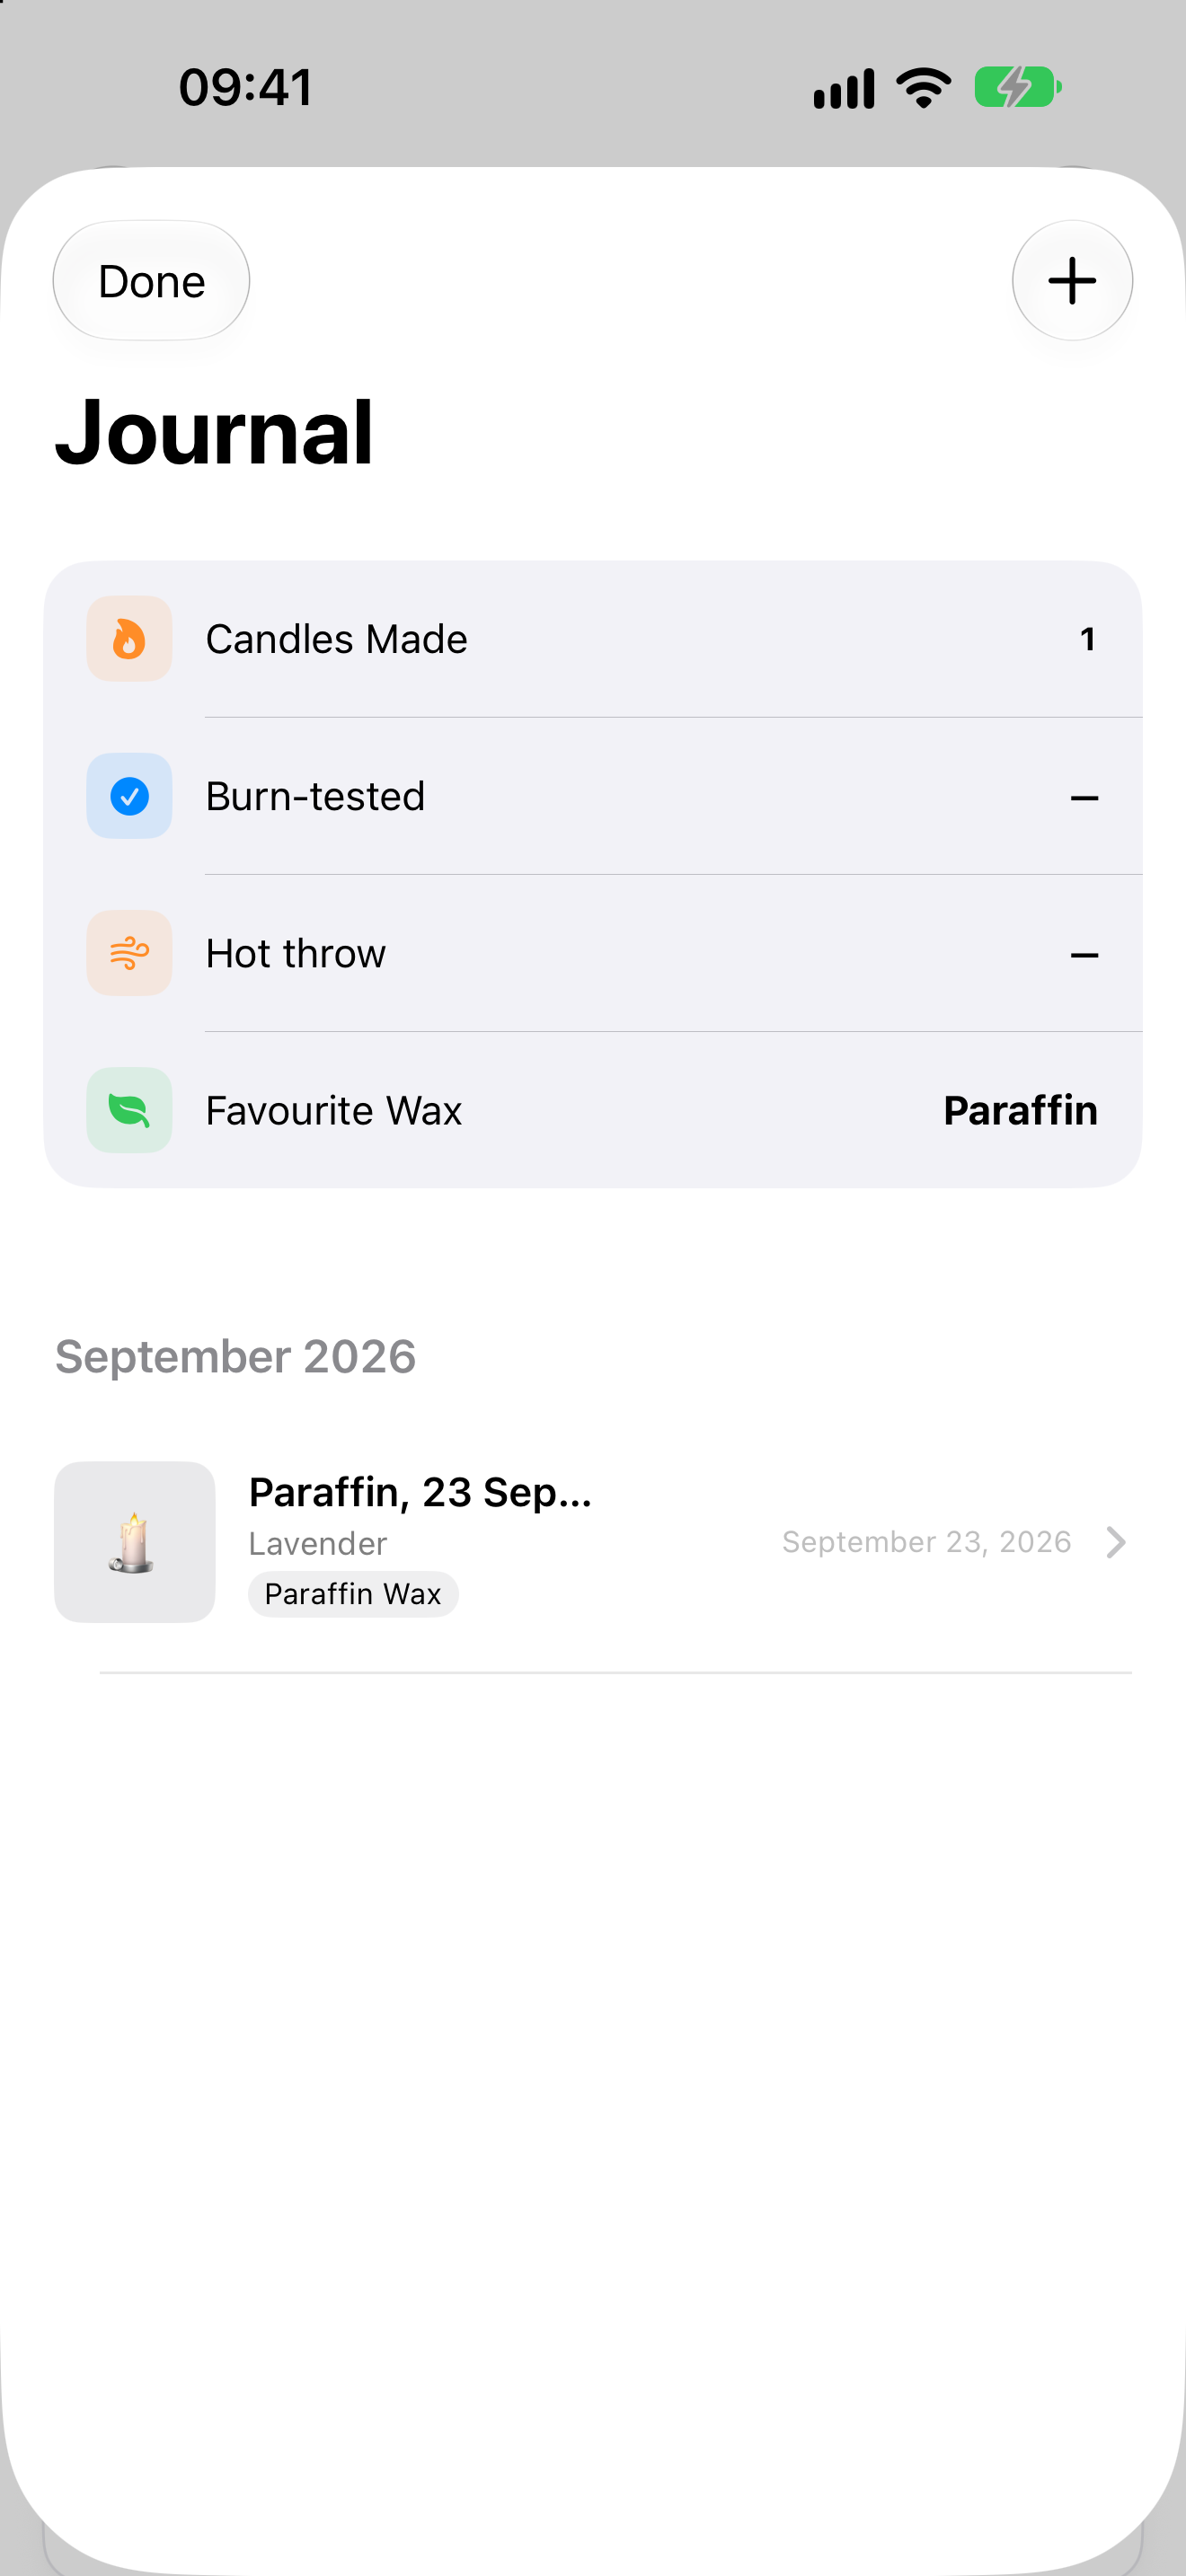
You can also keep a journal in Wax Lab. Each entry holds the recipe, a photo and the first-burn result, with a notes field for material details. One entry is free; unlimited entries are included in the one-time Wax Lab Pro purchase.
The PDF isn’t laid out like the app. It has more room for successive burn sessions, which is why I prefer it at my workbench. Use whichever format you’ll find easier to come back to.
Save the printable recipe sheet and burn log — PDF
Safety during a burn test
Never leave a burning candle unattended. Use a stable, heat-resistant surface away from flammable items, children and pets. Don’t move a candle while the wax is liquid. If the flame behaves dangerously, extinguish it safely and note what happened in your journal. See the National Candle Association’s safety guidance. The journal doesn’t replace the instructions for your materials.