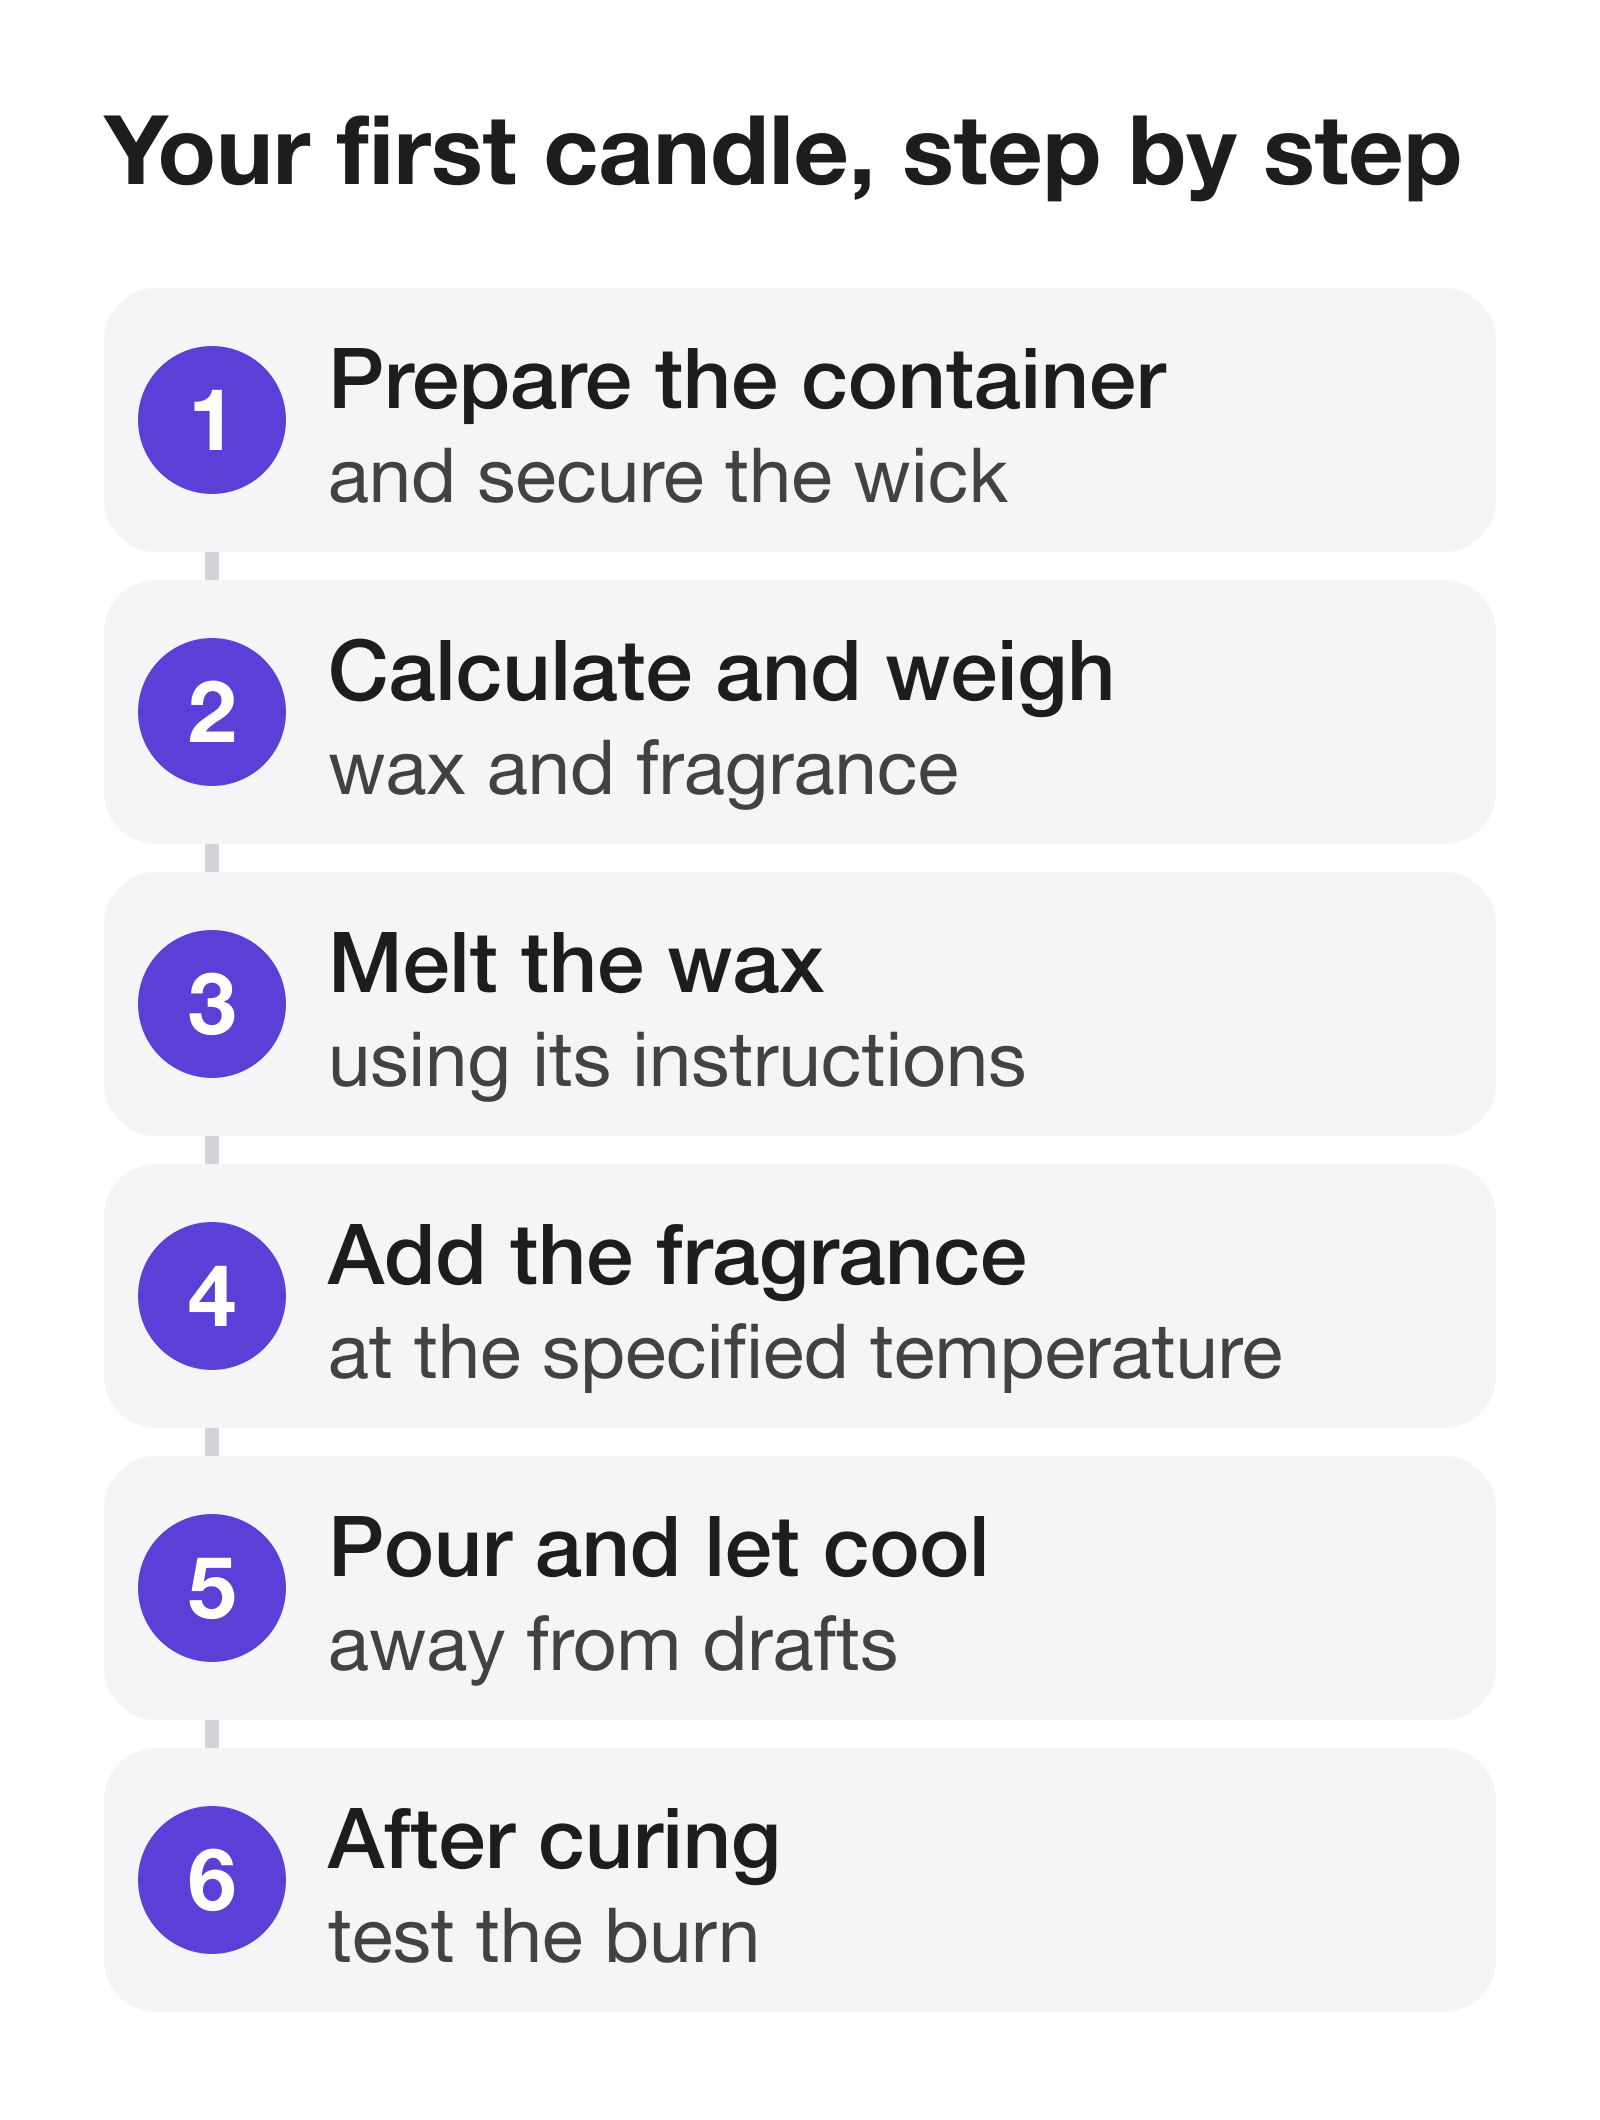
For your first candle, gather a candle-safe container, container wax, a suitable wick, and candle fragrance. Find the instructions for that wax before heating it. You will need its fragrance-mixing and pouring temperatures, and the recommended cure time before the first burn.
What you need
- A jar or tin made for candles. Ordinary drinking glassware may not withstand the heat.
- Container wax and a fragrance oil approved for candle making.
- A wick suited to the vessel diameter and wax, plus a way to secure and center it.
- A scale, thermometer, and pouring pitcher. If the wax instructions call for a double boiler, you will need a pot for the water bath too.
Cover your work surface to catch wax drips. You can skip dye for the first batch; without it, changes in the wax as it cools are easier to see.
What to note before pouring
Wax weight. A jar’s volume is not the weight of the wax it will hold. If the jar supplier gives a wax weight to the fill line, start there. Otherwise, measure the volume to that line and calculate a test batch. How to do that, and why calculators disagree.
Fragrance weight. Check your wax’s limit and whether its fragrance percentage is based on the wax or the finished mixture. Here are the formulas for both.
Temperatures and cure time. Write down the figures for your wax. For comparison, CandleScience’s soy tutorial and Lone Star’s paraffin guide give different pouring temperatures and waiting periods.
Make the candle
- Wash and dry the container. Attach the wick tab at the center of its base and hold the wick upright so it does not shift during pouring.
- Weigh the wax and fragrance separately, then record both weights in your candle making journal. Your notes will help you compare the next batch with this one.
- Melt the wax using the supplier’s method and watch the thermometer. With a double boiler, the pouring pitcher sits in a water bath, not directly over a burner. Do not leave melting wax unattended.
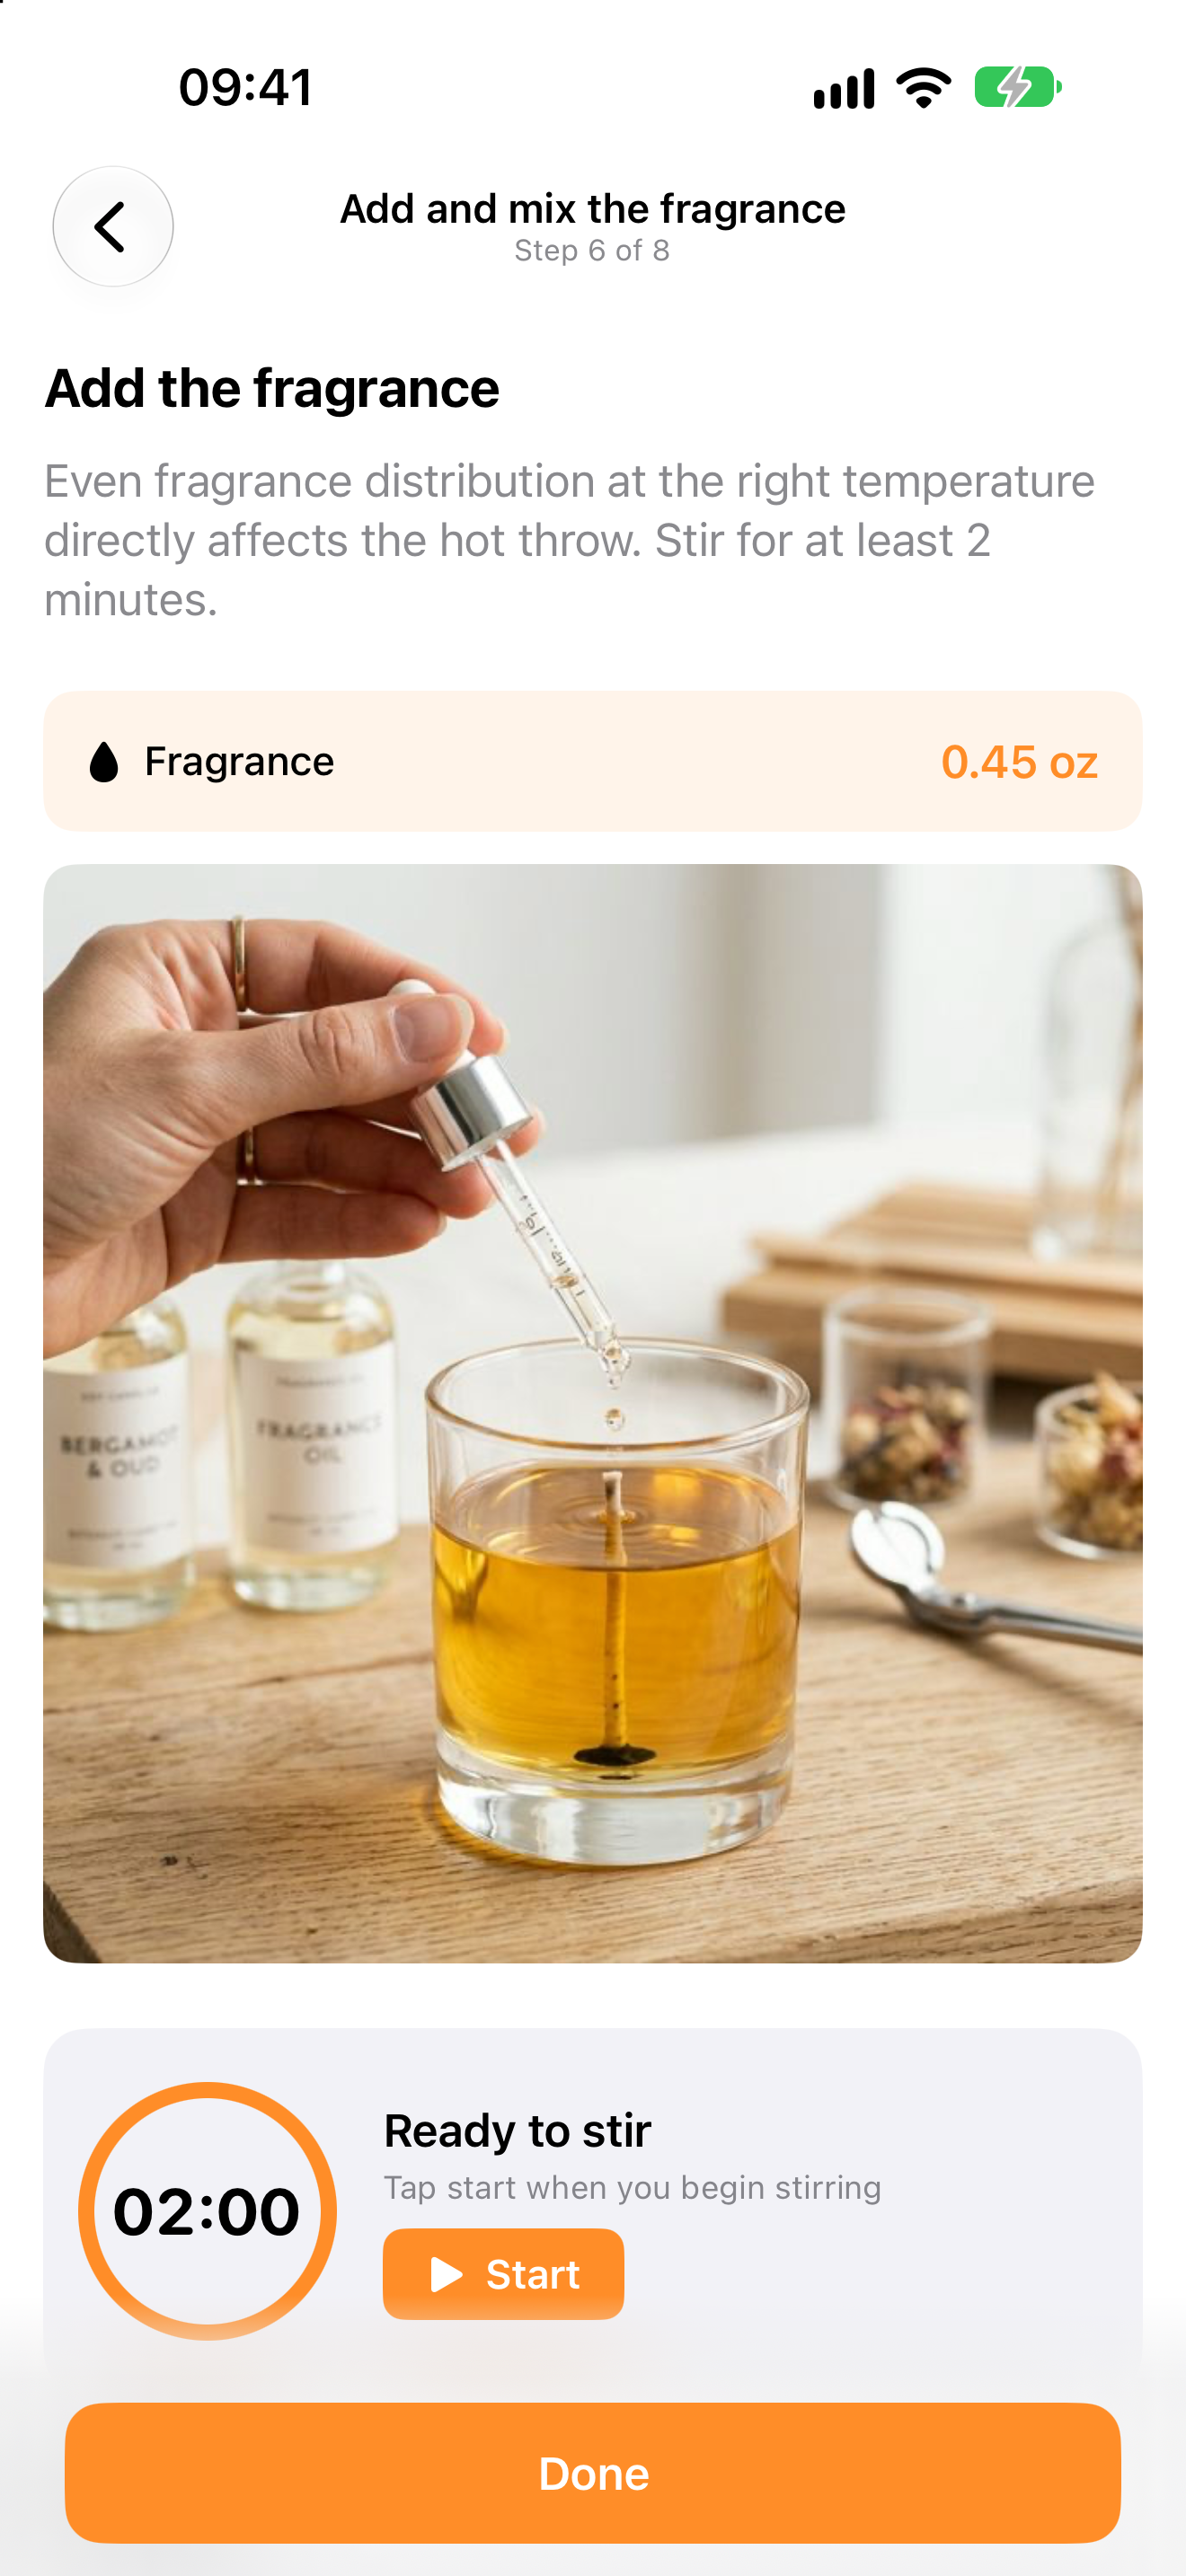
- Add fragrance at the temperature given for your wax. If the instructions say to remove the pitcher from heat or stir for a set time, follow them.
- Pour to your chosen fill line, leaving space below the rim. Check that the wick is still centered and let the candle cool away from drafts.
- After the recommended cure time, trim the wick and test the candle. Set it on a stable, heat-resistant surface, move flammable items away, and do not leave it burning unattended. Note how the flame, wick, and wax behave, whether it smokes, and whether the container gets too hot. More on burn testing.
A wick suggested by a sizing chart still needs testing with your jar, wax, and fragrance. If the flame grows too high, the candle smokes heavily, or the container overheats, extinguish it. Recheck the materials and wick before using that candle again.
Using Wax Lab
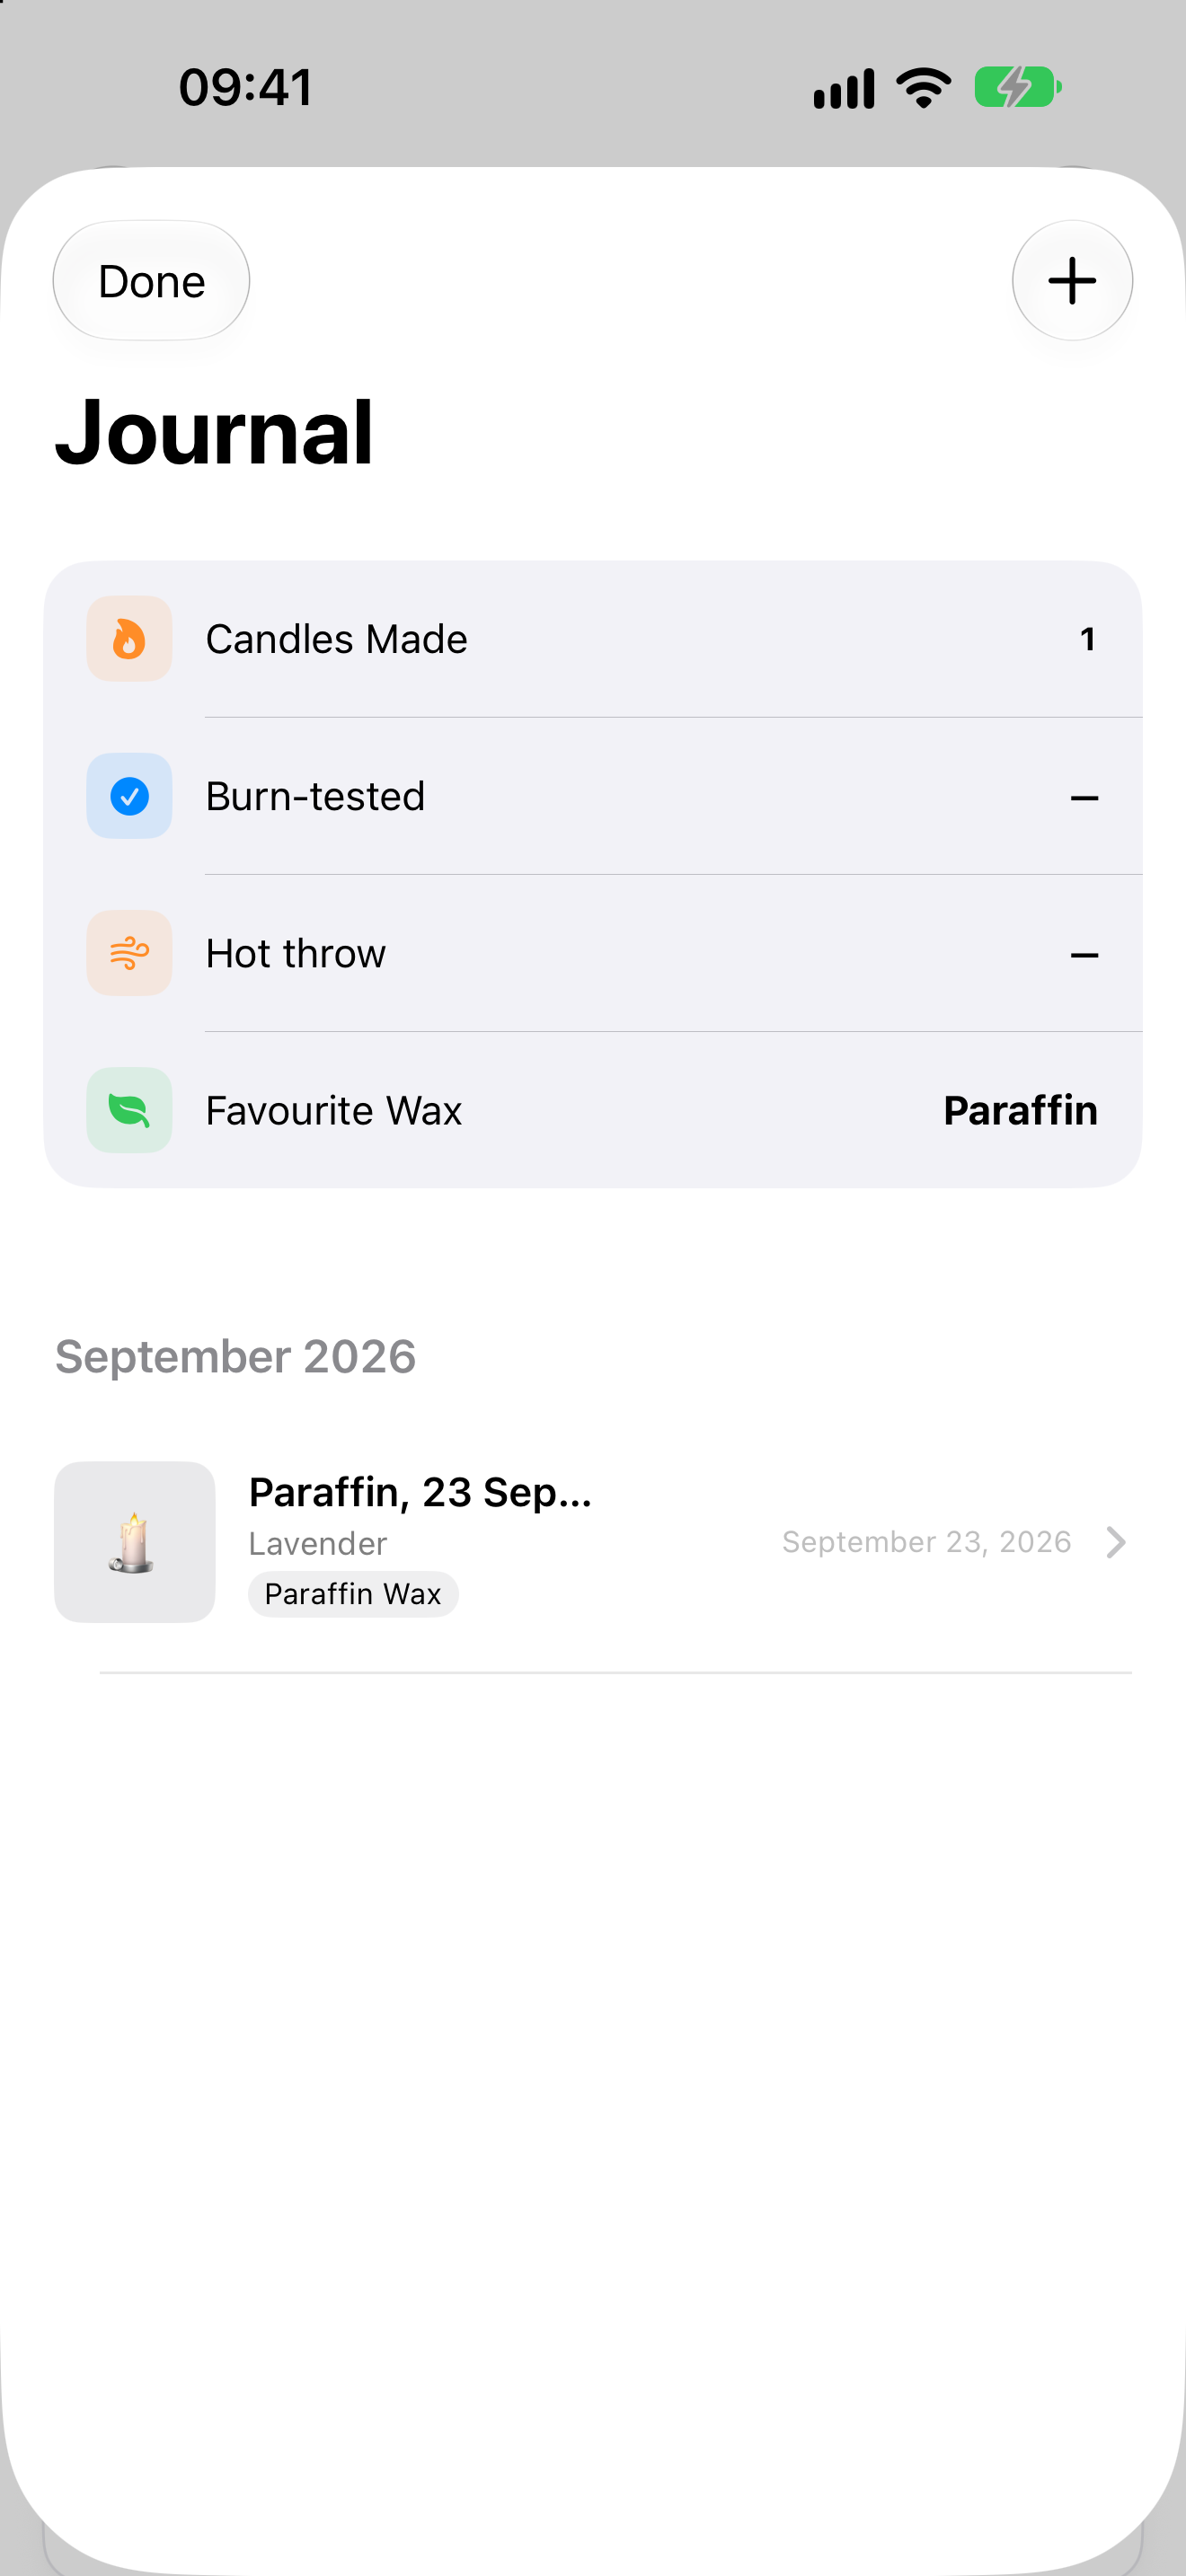
I added ingredient calculations, eight guided steps with timers, and a recipe journal to Wax Lab. You can record the first batch and its burn-test results there. The paraffin profile is free; other wax profiles are available with a one-time Pro purchase. Check the app’s temperatures against the instructions for the materials you use.